News RSS
Fitting Sound To The Latest Bachmann Class 47


The latest Bachmann class 47's come with a pair of speakers pre fitted which which make a DCC sound installation easy. The speakers are pretty good, one of them is a megabass with a plastic cover to form an enclosure. The plux22 decoder simply pushes into the holes on the PCB once the blanking plug is removed. The plux22 decoders are set up to work all the lighting functions of the new 47 as well as the working fan if fitted. You can choose from Legomanbiffo or Jamie Goodman sound for this model. Find the 47/0 sound here and the sound...
Sound Fitting The New Hornby 9F


The new Hornby 9F is easy to fit with sound using our kit which comes with a self adhesive 15x11 speaker to fit the built in enclosure. Start by removing the tender top, just the two screws at the back need to come out. Peel off the white piece of paper from the speaker to reveal the self adhesive gasket. Push the speaker down onto the enclosure, don't push too hard or you could damage the speaker, just enough for it to stick in place. twist the speaker wires to make sure they stay out of the way of the...
Sound Fitting The Hornby Queen Elizabeth II


I've received my stunning Hornby model of 'Elizabeth II' in its platinum jubilee purple livery. I put sound in it this evening, I had expected a 27mm bass enhanced speaker to go under the weight but it was too thick by about 2mm so I chose one of the 35x24x3 tablet speakers instead. First you need to take the 2 screws out of the back of the tender, and lift it from the back to release the clips from the front. The speaker can either be connected to the speaker pads on the models PCB or they can be connected...
Fitting Sound And Stay Alive To The Bachmann 08


This is what I would consider a more advanced method of fitting sound to the 08, it requires removing the 8 pin socket and hard wiring the decoder, but it allows for a bigger speaker and means that the stay alive doesn't need to go into the cab. We'll assume that you know how to get the body off (it's 1 screw and a clip under the cab). So we will skip to preparing the body and chassis. Take the circuit board, unsolder the 4 wires from the motor and pickups, and snip off the orange capacitors. Then unscrew the...
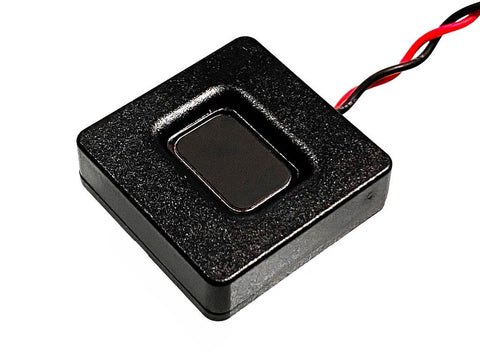
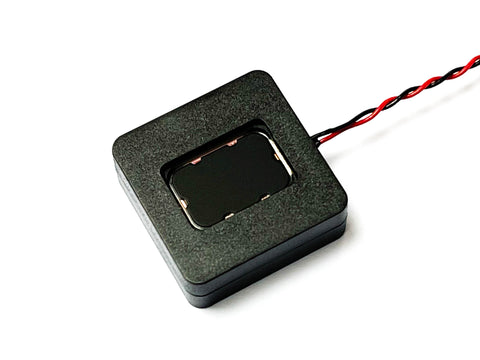
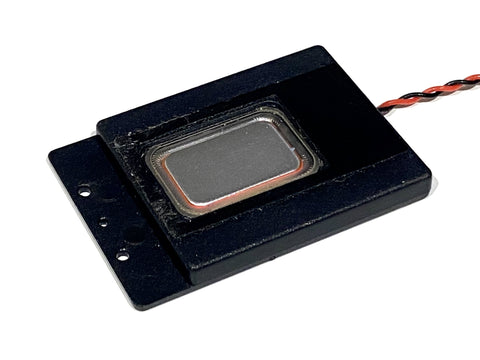
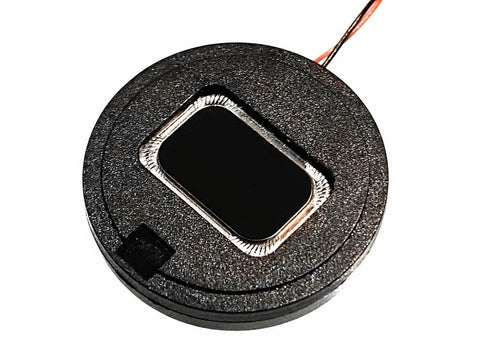
Fitting A Stay Alive To Loksound Decoders


Two Wire Or Three Wire Stay Alives? Lots of people arent sure what they need. Loksound, Lokpilot and Train-o-matic work best with a 3 wire stay alive, Zimo or TTS require a 2 wire stay alive. If you use a 2 wire stay alive with a Loksound or Lokpilot it's best to alter any settings before it's connected. How to connect a stay alive Some, but not all decoders come with loose wires on them for a stay alive such as the Loksound 5 below. If you don't have the wires there are specific solder pads to connect them to...